- July 30, 2026
Summarize with AI
Not enough time? Get the key points instantly.
Get summary:
Why Board Bring Up Process is Important From Vendor Point Of View
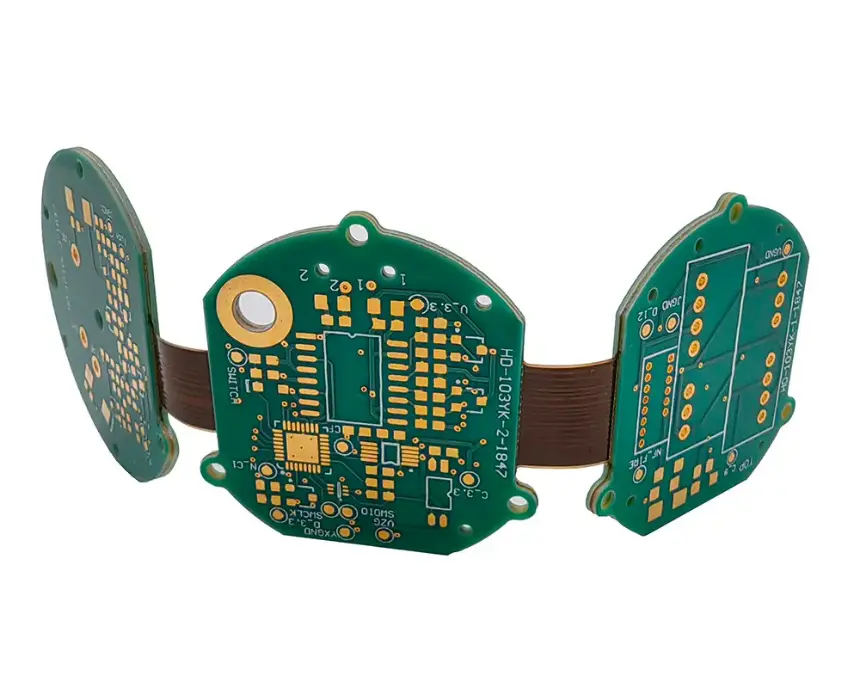
You're about to hand your first prototype run to a hardware partner, and you want to know what actually happens between "boards arrive from fab" and "boards are validated for the next stage." A vague answer here is a red flag, because a partner who can't describe their bring-up process in specifics probably doesn't have one - they're improvising per board.
This post walks through the board bring-up process we run at CoreFragment on every new design, stage by stage, so you know exactly what to expect before your boards ever reach our bench.
Why We Treat Bring-Up as a Formal Stage, Not a Formality
A lot of hardware teams treat bring-up as the five minutes between fab delivery and flashing firmware. We don't, because that shortcut is exactly how a shorted rail gets misdiagnosed as a firmware crash and how a team burns a week debugging code that was never the problem. Our board bring-up process exists to catch hardware defects before they get chased through software, because isolating one variable at a time is the only reliable way to know what actually broke.
Every board we bring up goes through the same staged sequence, whether it's a wearable, an industrial controller, or a medical device prototype. The stage doesn't change; the specific checks inside each one do, based on the board.
Stage 1: Pre-Power Checks
Before any board sees a bench supply, we run through a fixed set of checks:
Visual inspection under magnification for solder bridges, tombstoned passives, and missing components
Continuity check from every power rail to ground with a multimeter — it should read open, not a dead short
Cross-check of the populated BOM against schematic reference designators, not just the pick-and-place file
Confirmation of connector orientation and pinout before any cable gets mated
On one industrial automation board, this stage caught a reversed tantalum capacitor before it ever saw power — a thirty-second continuity check that would have taken a full respin to fix if it had reached the digital section first.
Stage 2: Staged Power-On
We never power a new board from a wall adapter. Every board goes on a current-limited bench supply, with the primary rail ramped slowly while we watch current draw against the schematic's budgeted estimate. A rail that spikes toward the current limit before reaching nominal voltage tells us something is wrong before any IC is at risk.
Once the primary rail is stable, we check every downstream rail with a DMM and capture each one on an oscilloscope under load — watching for ripple, slow rise time, or a brown-out condition close to the MCU's minimum operating voltage. A rail sagging 100 mV under load can trigger a reset that looks exactly like a firmware bug, which is why this check happens before firmware is ever trusted.
Bring Up Stage | Primary Tool | What We are Checking For |
|---|---|---|
Pre-Power | Multimeter, magnifier | Shorts, solder defects, BOM mismatches |
Power-On | Current-limited bench supply, DMM | Rail accuracy, inrush current |
Analog/digital | Oscilloscope, logic analyzer | Rail noise, clock integrity, reset timing |
Interface bring up | JTAG/SWD debugger, UART terminal | MCU communication, peripheral response |
Stage 3: Digital Interface Verification
We don't start by flashing the full application. We confirm the debugger can talk to the chip first, because a board that fails to enumerate over JTAG almost never has a firmware problem - it usually points to a miswired debug header or a rail that hasn't stabilized yet.
Confirm JTAG or SWD connects and reads the correct chip ID before loading any application code
Bring up the UART console first, since it's the cheapest way to get visibility into boot state
Scan the I2C or SPI bus for expected device addresses before assuming a peripheral driver bug
Verify clock source and PLL lock status before testing anything downstream of the clock tree
Symptom | Likely Root Cause | How We Confirm It |
|---|---|---|
Board draws excess current at power-on | Shorted rail or reversed-polarity component | Bench supply trips before reaching nominal voltage |
MCU won't enter debug mode | Miswired debug header or missing pull-up | Continuity and pull-up checks on the debug lines |
Peripheral not responding on the bus | Wrong address, or the rail is unpowered | Bus scan plus a rail voltage check |
Board resets repeatedly under load | Rail sag near the brown-out threshold | Oscilloscope capture during a load transient |
Stage 4: ESD-Safe Handling Throughout
Every populated board stays in an anti-static bag between test sessions, and anyone handling a board out of its bag uses a grounded wrist strap and ESD mat. This isn't a box to check - a part hit with static during handling can pass bring-up and then fail intermittently weeks later, and by then it's nearly impossible to trace back to how the board was handled.
Stage 5: Documentation Every Time
We log every rail voltage measured, every checklist result, and the firmware version tested against each board. Without that log, the next production run repeats debugging the first prototype run already solved. It's also the reference point when a component goes end-of-life and gets substituted later - the original bring-up data tells us whether the replacement changed the board's behavior.
What We Log | Why It Matters Later |
|---|---|
Rail voltages per board | Baseline for comparing production units against prototypes |
Pass/fail per checklist item | Flags which boards need rework before moving forward |
Firmware build tested | Ties bring-up results to a specific known-good firmware version |
Component substitutions | Confirms EOL replacements didn't change board behavior |
What to Expect Working With Us
If you're evaluating us for board bring-up on your next design, here's what that engagement typically looks like:
A bring-up plan reviewed with your team before boards arrive from fab
Testing across at least three boards from the batch, not just one
A written log of rail voltages, checklist results, and firmware versions per board
A clear call on any finding — whether it's a bench workaround or needs a layout respin
Findings handed back in terms your team can act on, not just raw scope readings
The Bottom Line on Our Board Bring-Up Process
A board bring-up process is only worth something if it's the same every time, not improvised per board. We run pre-power checks, staged power-on, digital verification, and ESD handling in that order because skipping a stage is how a hardware defect turns into a week of misdirected firmware debugging. If you're planning bring-up on your next PCB and want to see how this process would apply to your specific board, share your design with our hardware team and we'll walk you through it.
Author
Have Something on Your Mind? Contact Us : info@corefragment.com or +91 79 4007 1108

Related articles